Improving Bedford Landings During a Pandemic
Posted on April 28, 2020 by
It is the pandemic 2020. That means we are staying home and making do with what we have for not only supplies, but self-entertainment. I had already painted a little, made face masks, and crafted a few other items. What next?
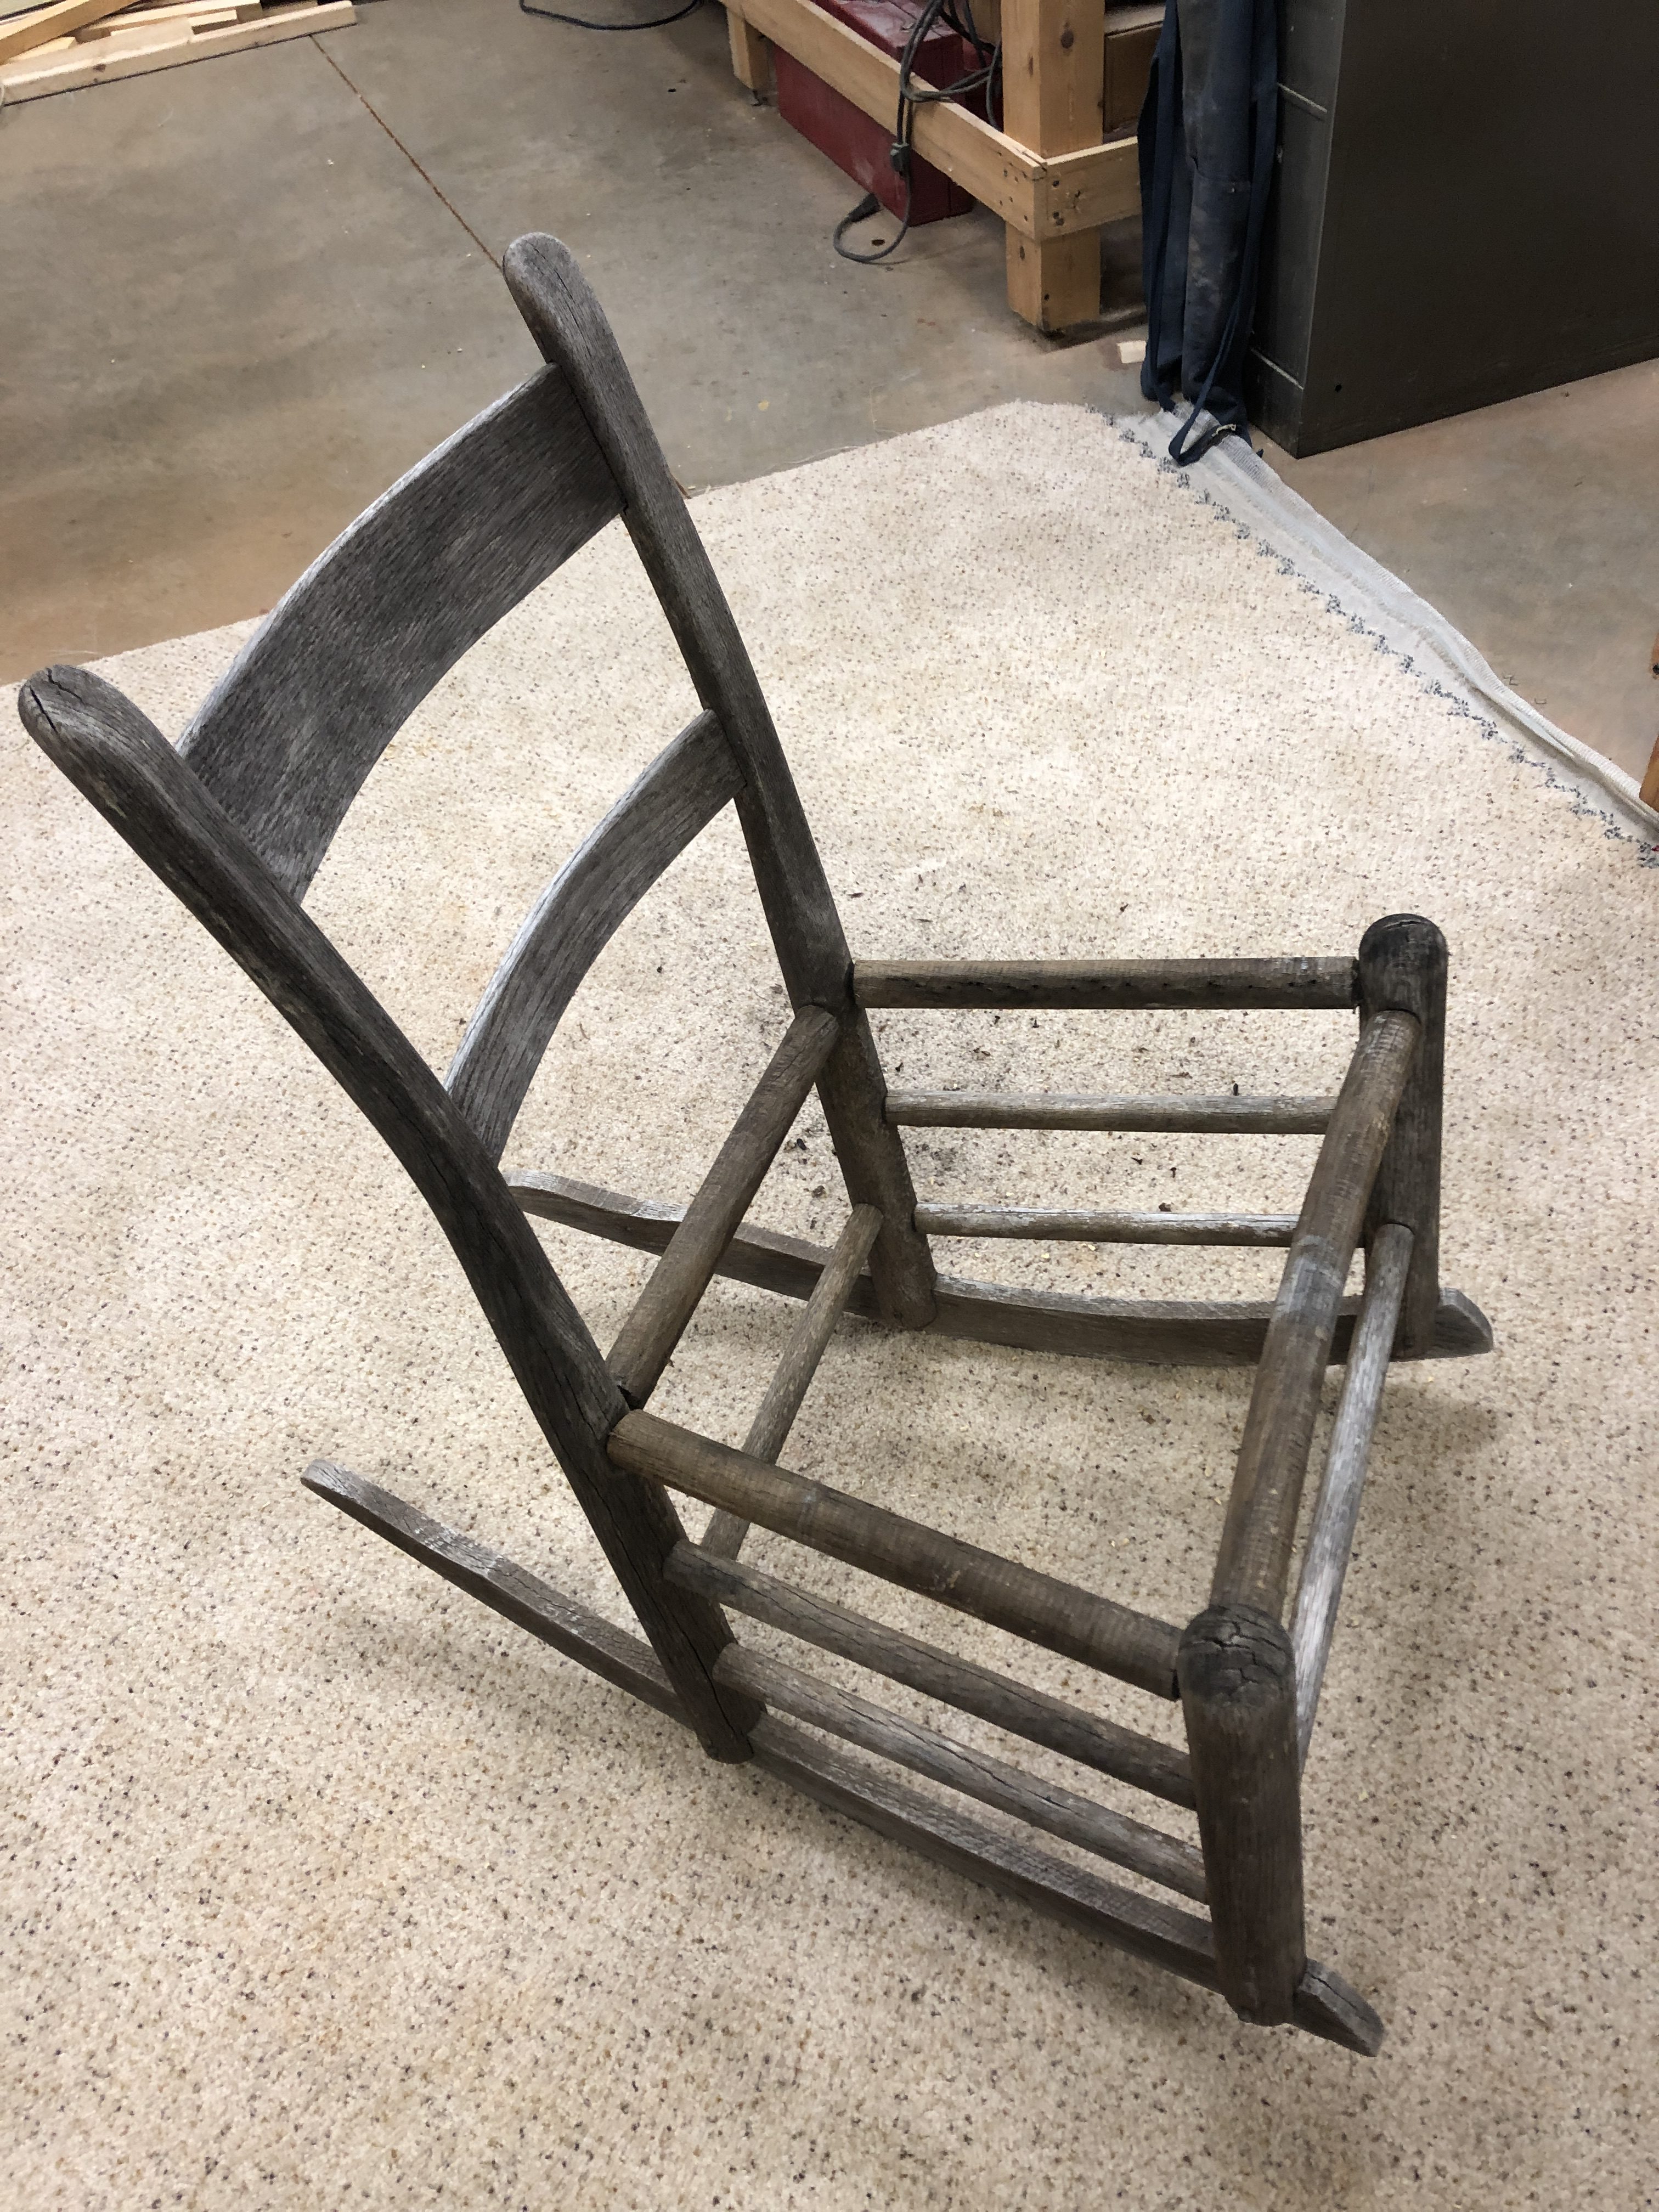 I was looking around the house for something I could improve. Mind you, I would generally not have the time nor patience for the activity I decided upon. I decided that a little wooden rocking chair needed improvement! I had purchased this sturdy little rocker at least 7 years ago at a thrift shop and it had been sitting in the weather year after year on the star-gazing deck. It is strong and the rush bottom seat had lasted a good long time, since before I had purchased it. But now there were at least 6 strands of rush hanging loose. The first thing I did was cut them out and discard them. That left me with an empty seat. I turned to Pinterest to see how I could replace the chair seat with materials I may have on hand. That’s when I decided to start photo-documenting the process.
At this point, allow me to thank a fabric chair seat blogger for her clear instructions. Thank-you A. McInnis Artworks. I pinned you!
I sanded the weather worn wood and looked to see what kind of paint I had on hand: pink, black, orange, blue, and maroon. I selected maroon. I spray painted the frame first. Spray paint takes little time to dry so I went on a hunt for scrap fabric while it dried. Yes, I know I didn’t have it all planned out from the beginning.
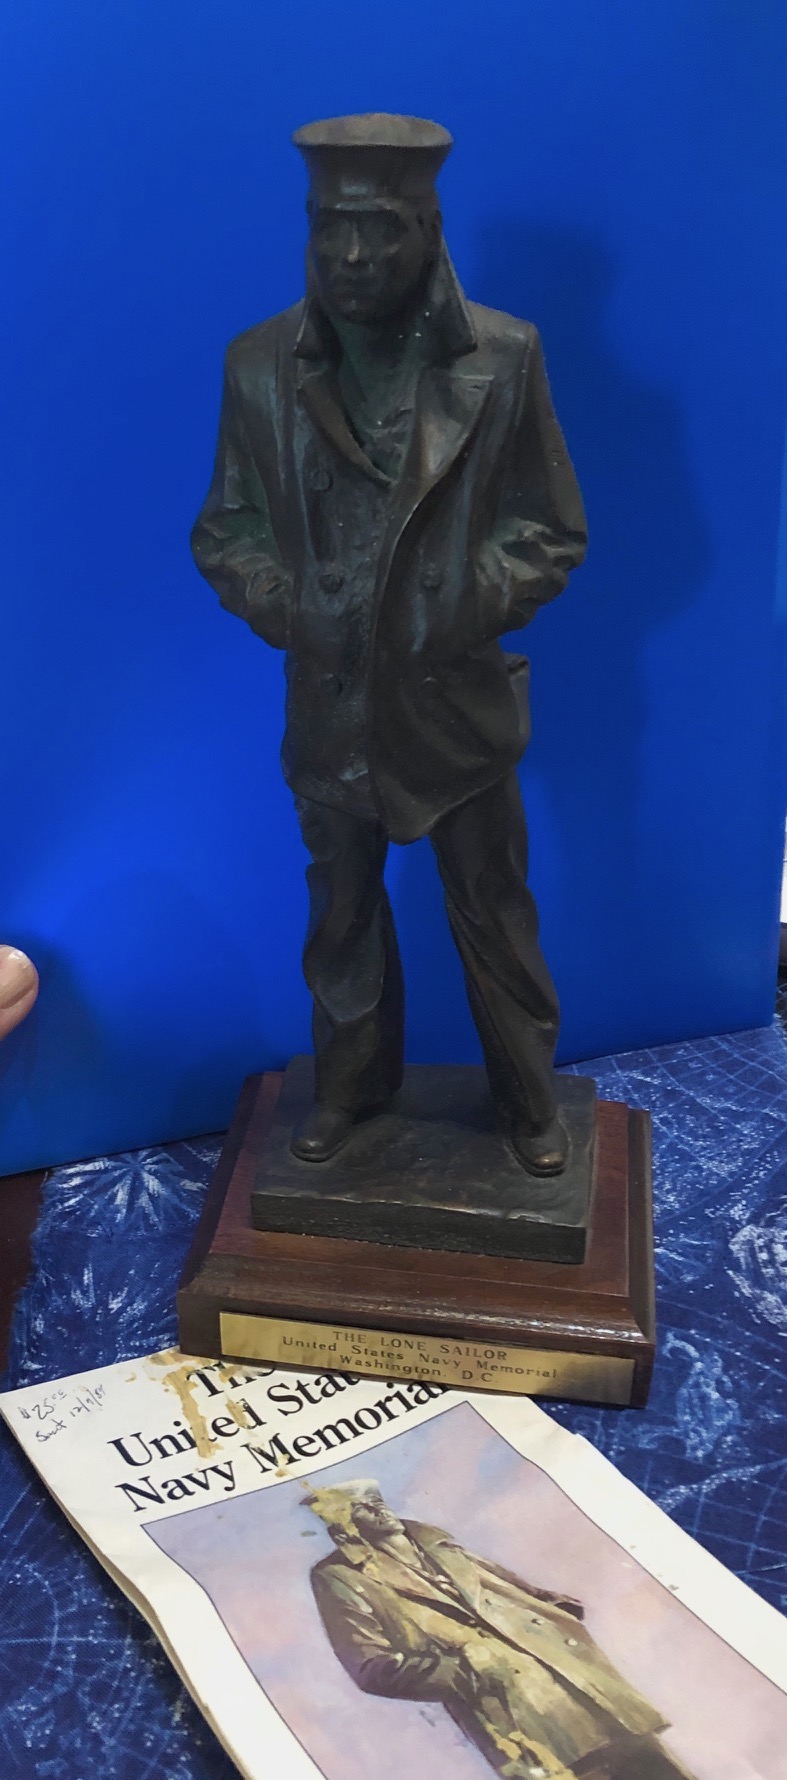
My dad’s navy figurine. A distraction for only a moment.
I looked in the scrap box where I had found for fabric to make (PPE) protective masks. The scraps that were left were too small. I began thinking about what shirt or dress I could cut up and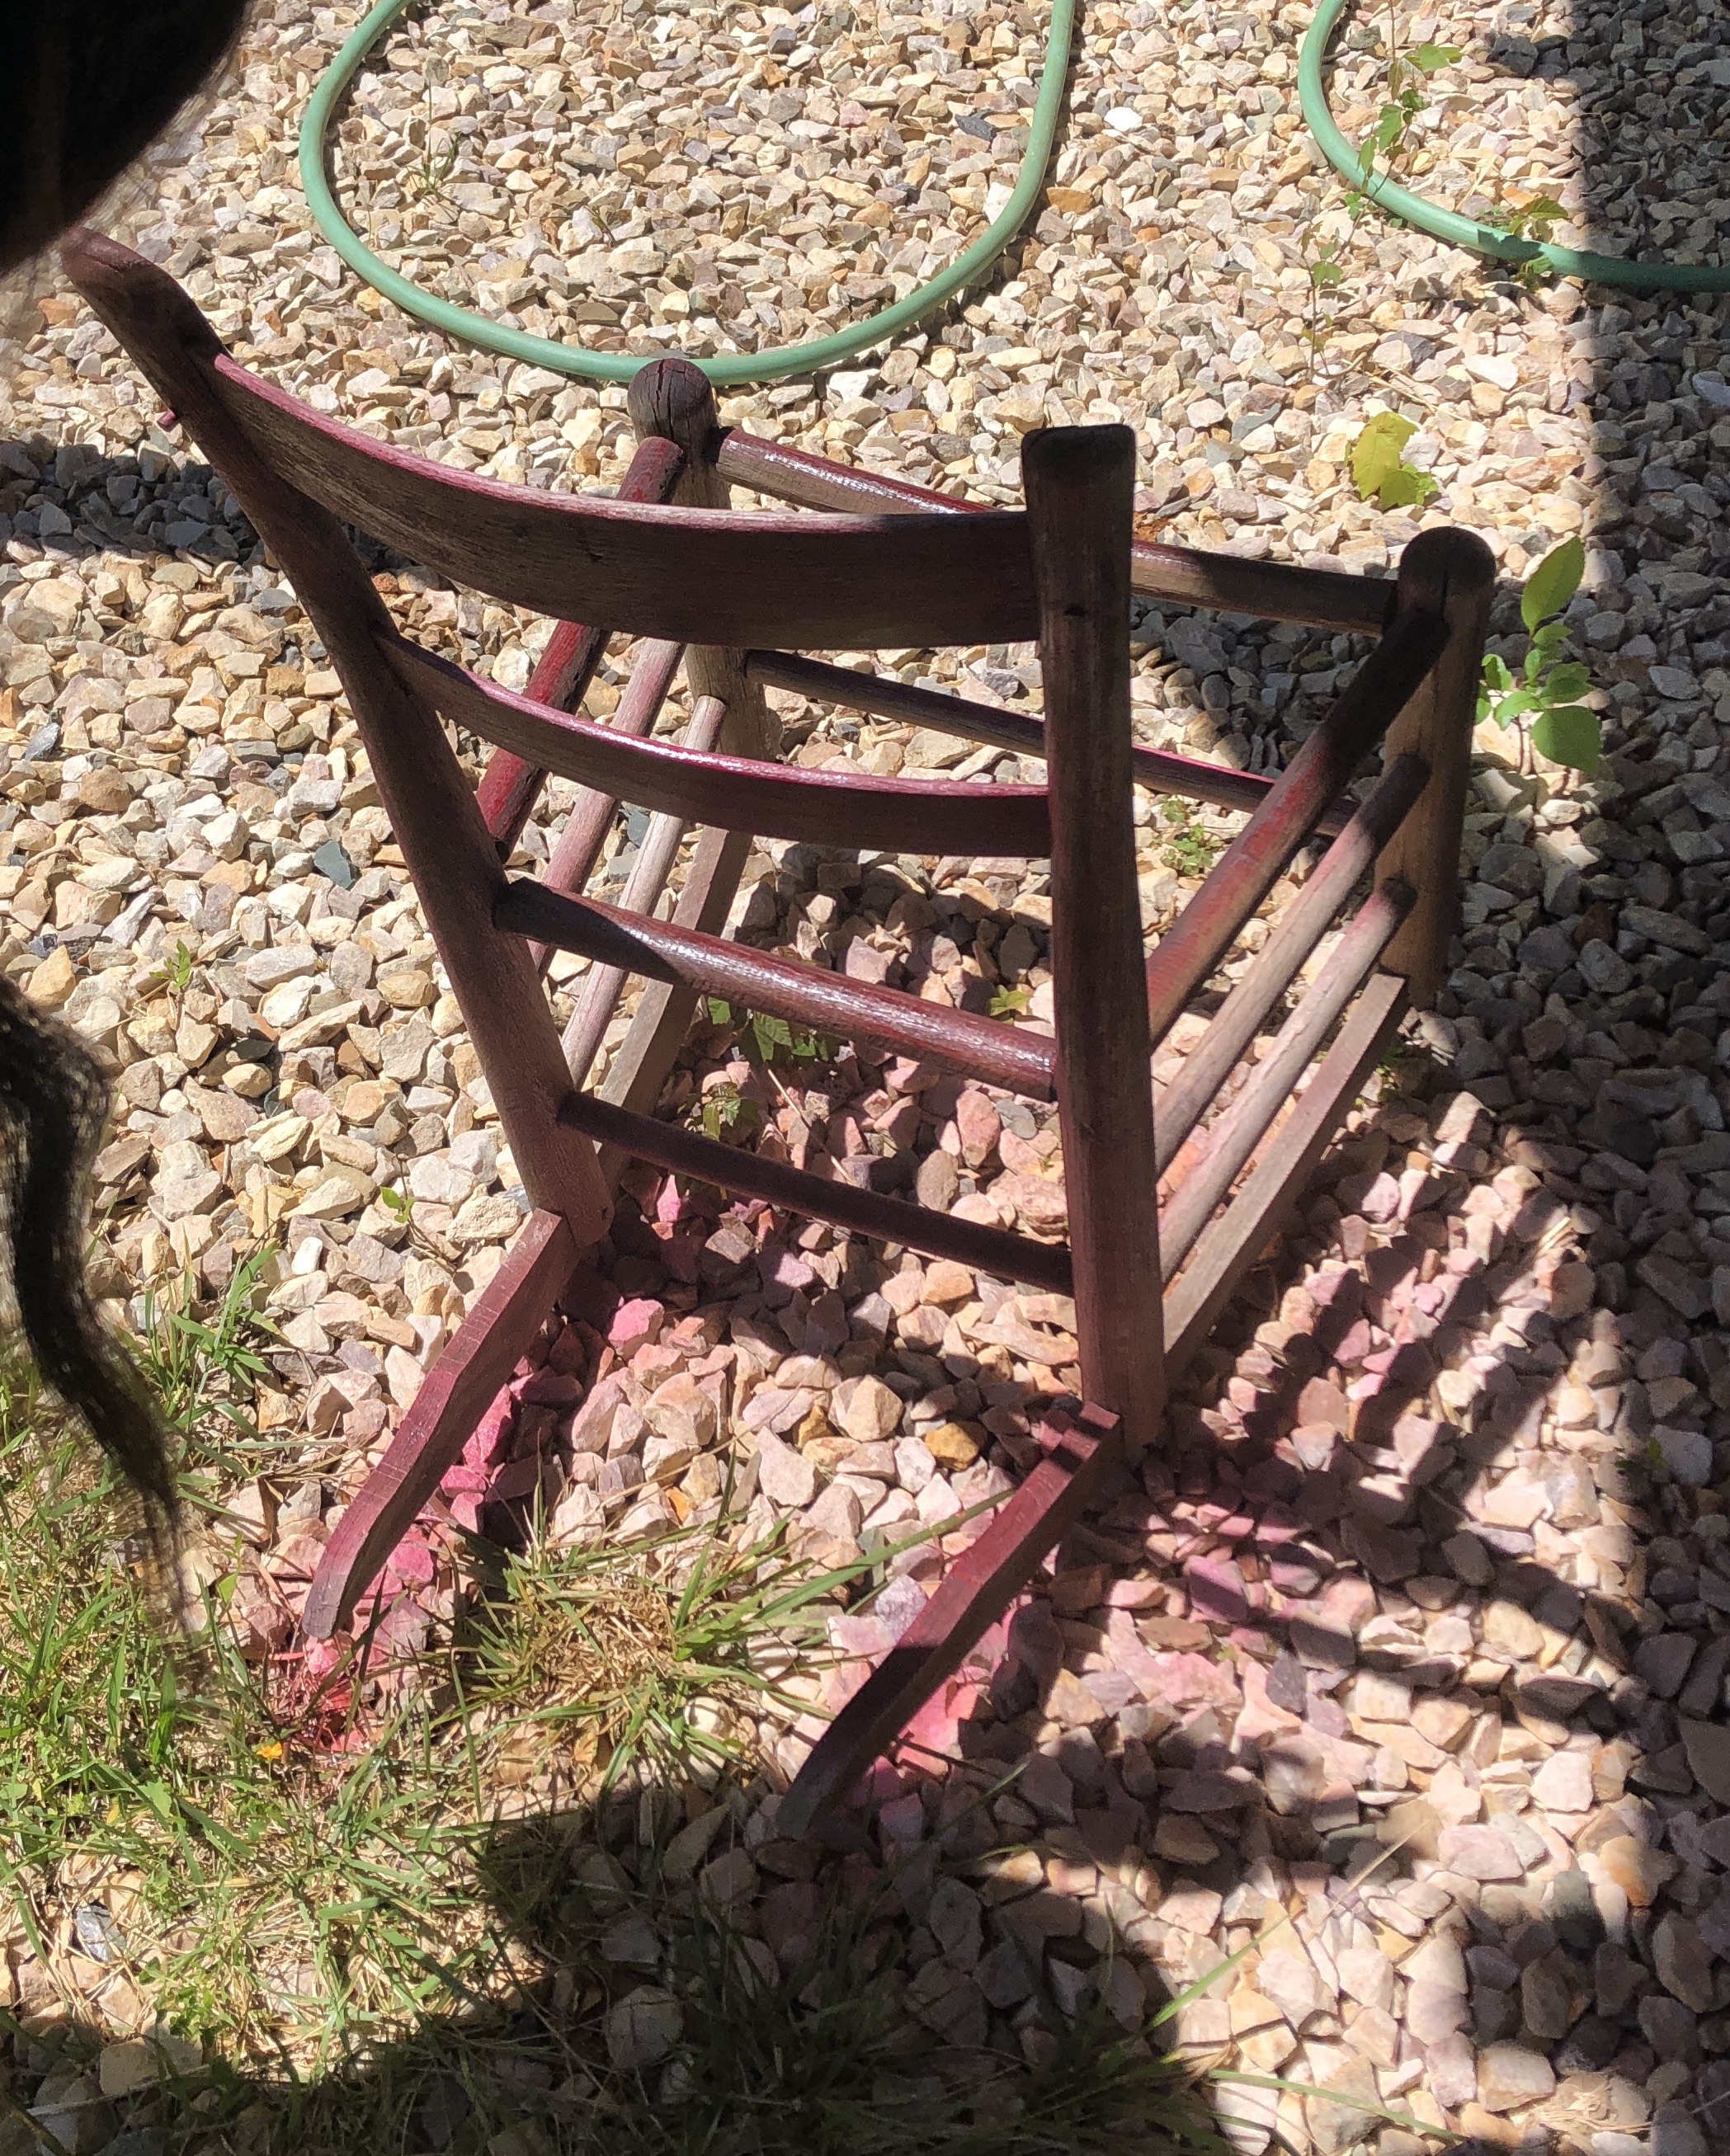 use. Then I opened another box in the basement. I found some poems and prayers my dad had written. That distracted me for a while. Then I found his old navy officer figurine. I glued the placard back on the base. But then as I dug a little deeper, BINGO! I found a large piece of navy-blue fabric that I think I was considering using to make curtains for the Flying Room. I needed a piece 45 inches wide and A. McInnis had said I needed 3.5-4.5 yards. My guess is that I had 2.5 yards. I located a few other small pieces I could use if I needed to. It really doesn’t matter about the color. You will essentially be weaving with strips of fabric into the chair base. Mixing and matching colors would work as well as using the same color.
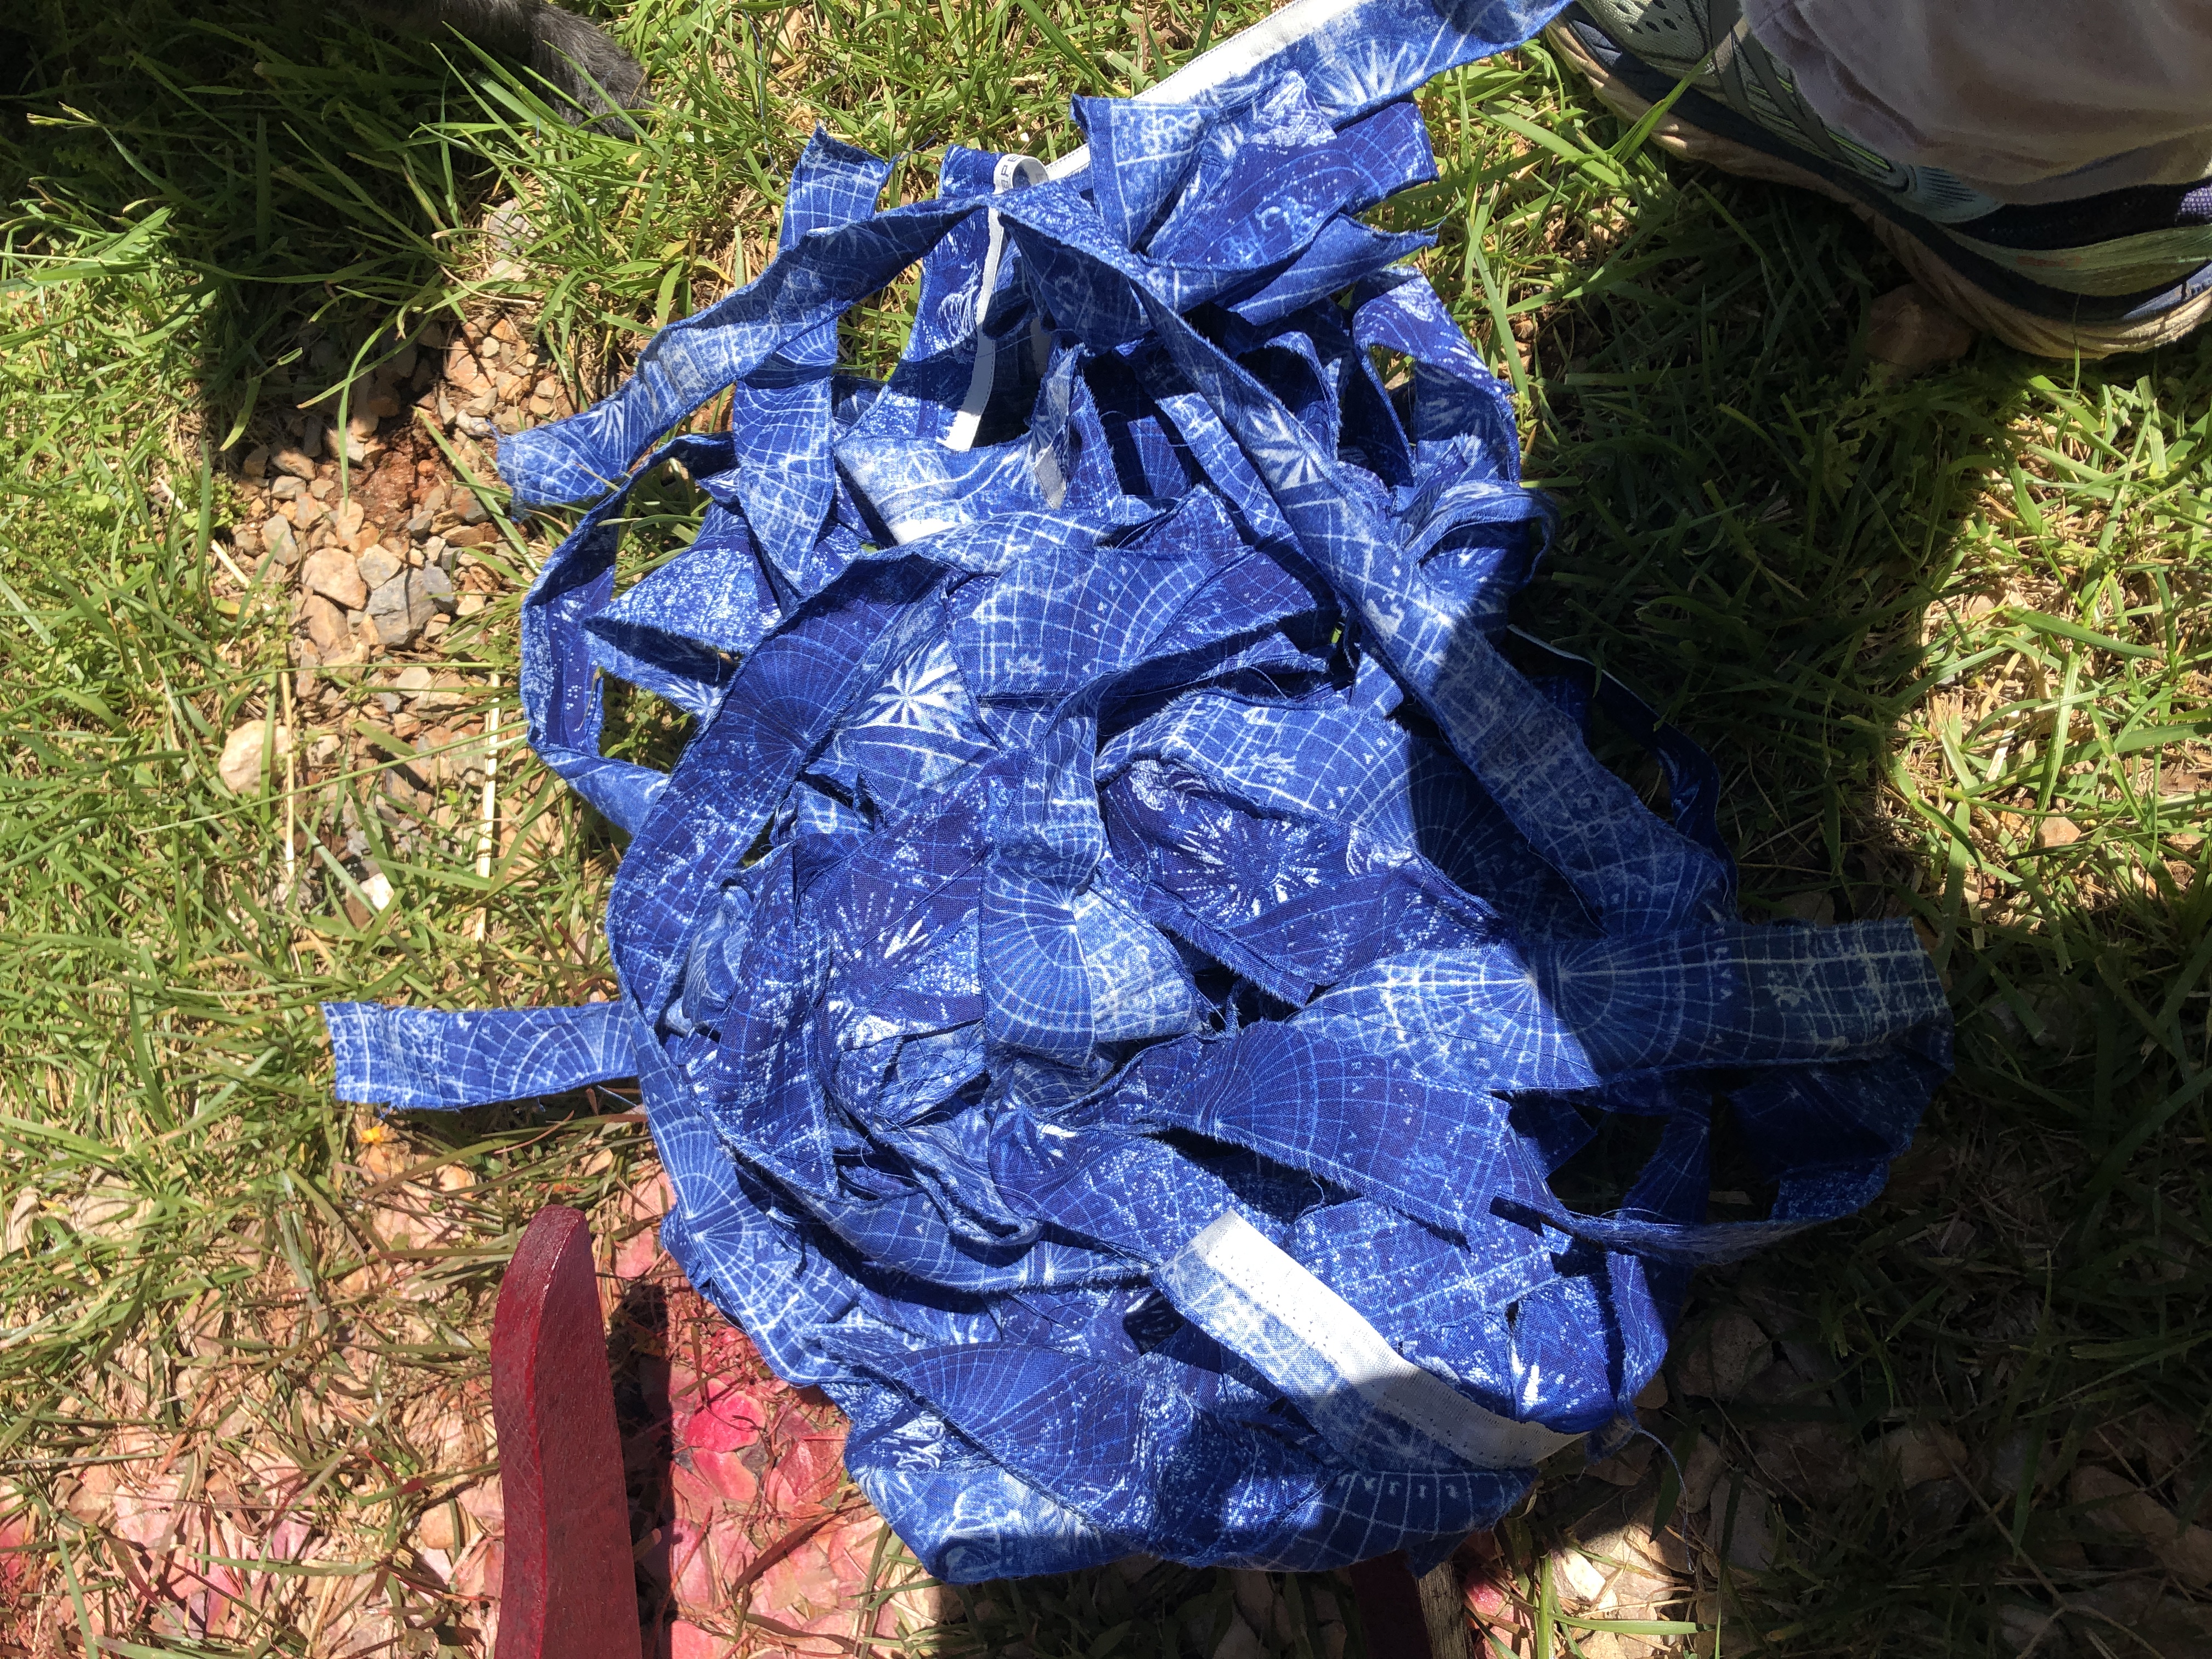
The paint was dry so I began the process. I opened the workshop door and took a folding chair out into the sun to begin to cut the strips. A. McInnis recommended tearing the fabric for a straighter cut. I was good with that plan because cutting 40-some strips into equal pieces would have taken a painfully long time. She advised that if you tear them you will have to deal with the raveling strings. That was ok. I am into quick projects with satisfactory results. I began tearing 1 ½ inch strips.
There are four round dowels in the seat base. Begin by tying vertically (or horizontally) a band of strips around this base.
Tie about 20 strips around one direction and knotting. Double knot while leaving the knot on the underside of the chair seat. Scrunch them together as you go. Some people can fit as many as 23-24 strips of fabric. I think I fit 19. You will trim the knotted ends to about 1 inch on each tie and you will tuck them under as you go later on. Just keep tying the strips for now. The next pictures shows what it looks like to this point from the underside.
Once finished the horizontal direction, you will now begin to weave the next set of 20 strips perpendicular to this row. Begin in the middle and weave the new strip over and under each piece. Alternate the next strip under then over for the next row working from the center out to the edges. Leave the ends hanging untied for now. The fabric looks good!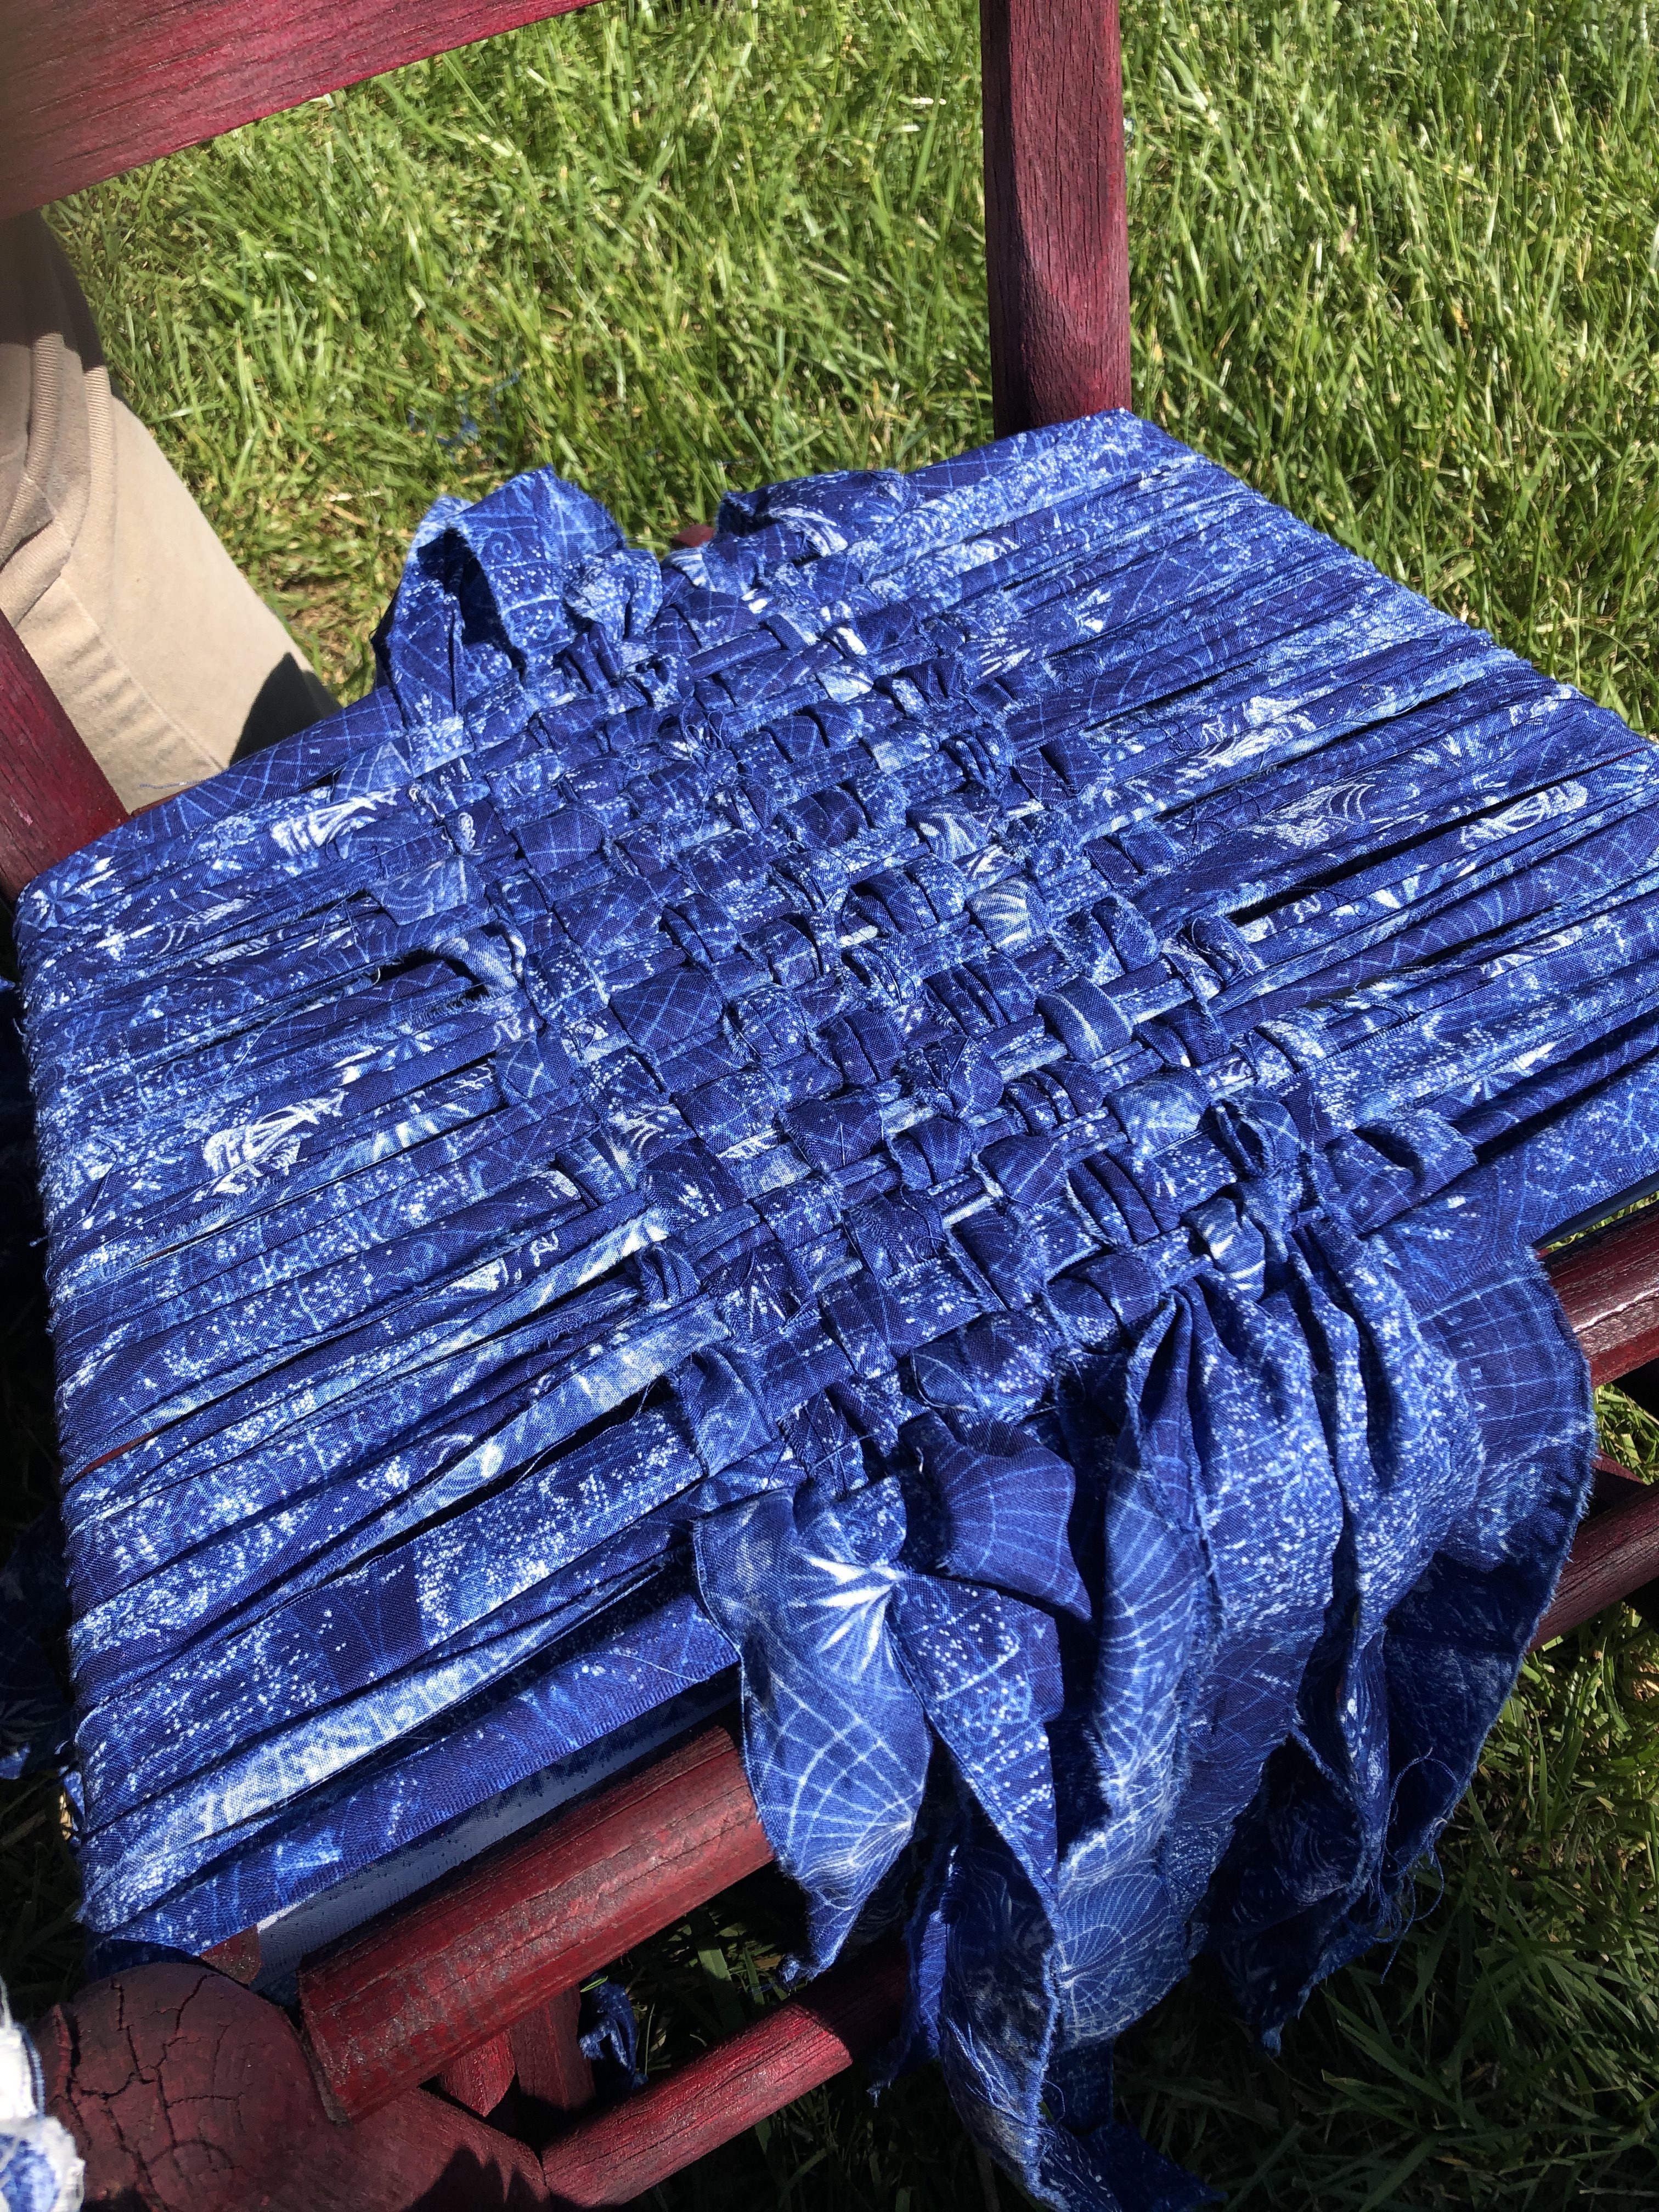
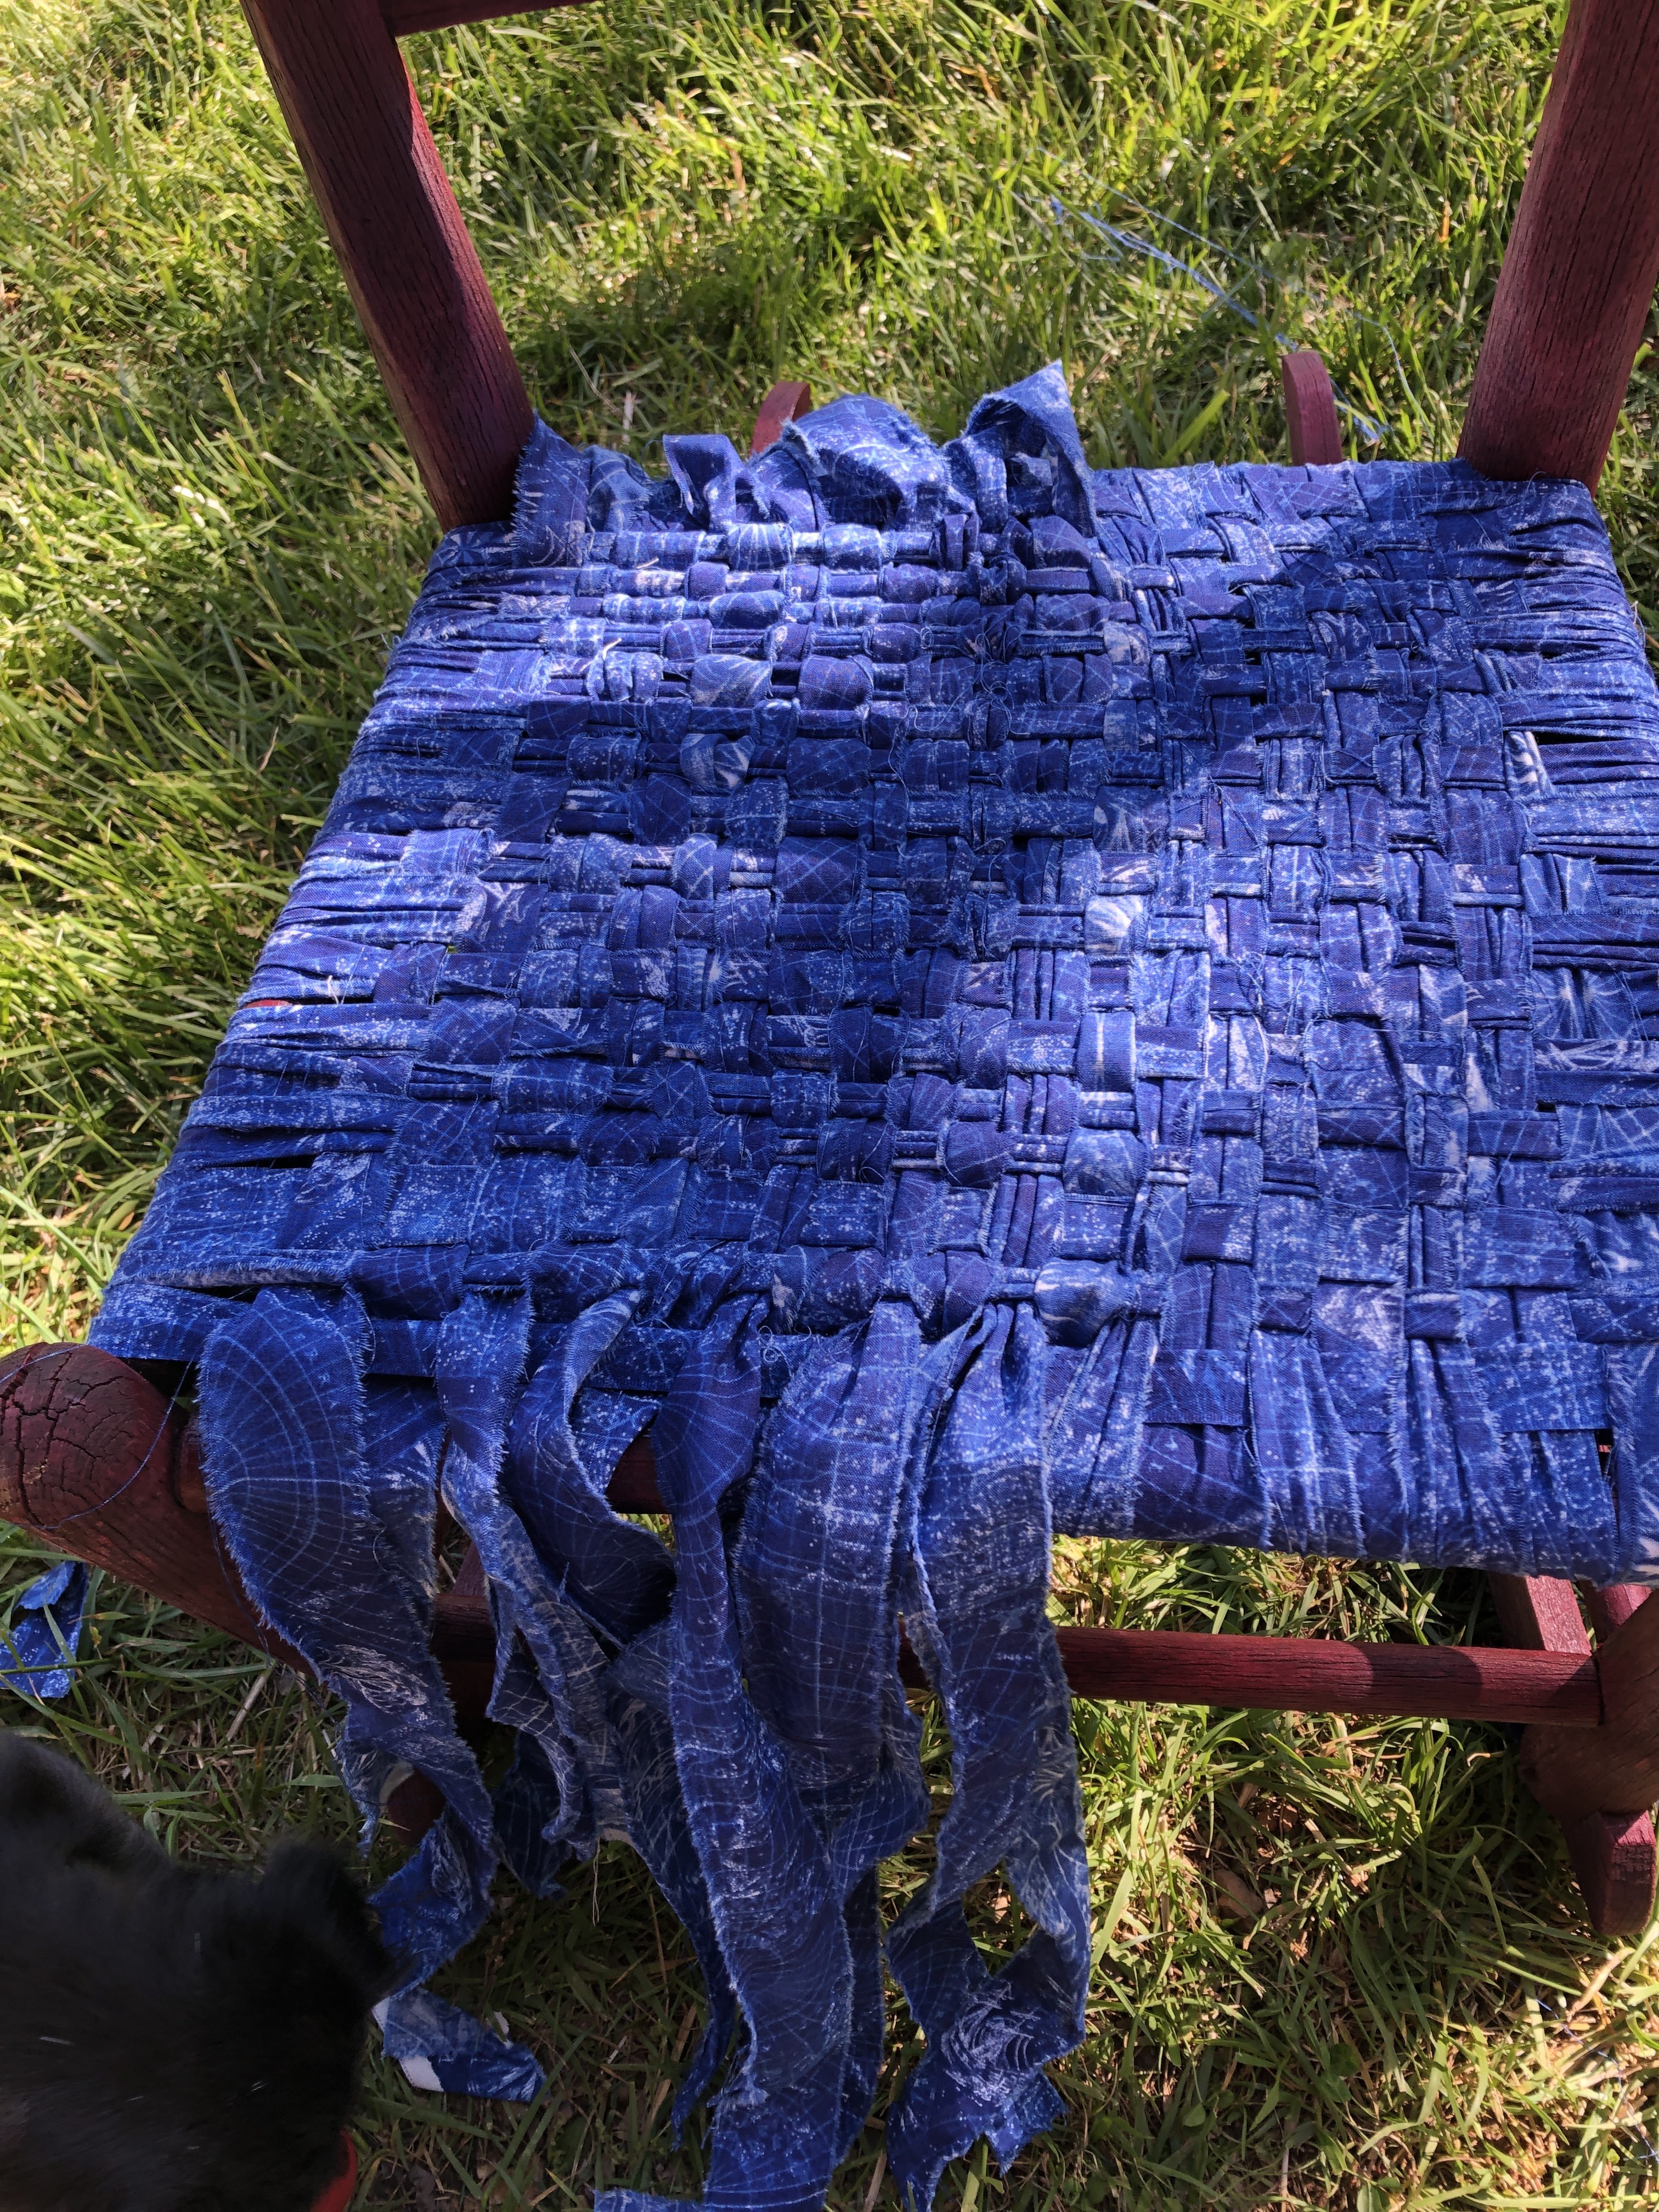
Just continue until you have a bunch of hanging ends. Then you will start working from the underside of the chair doing more backside weaving.
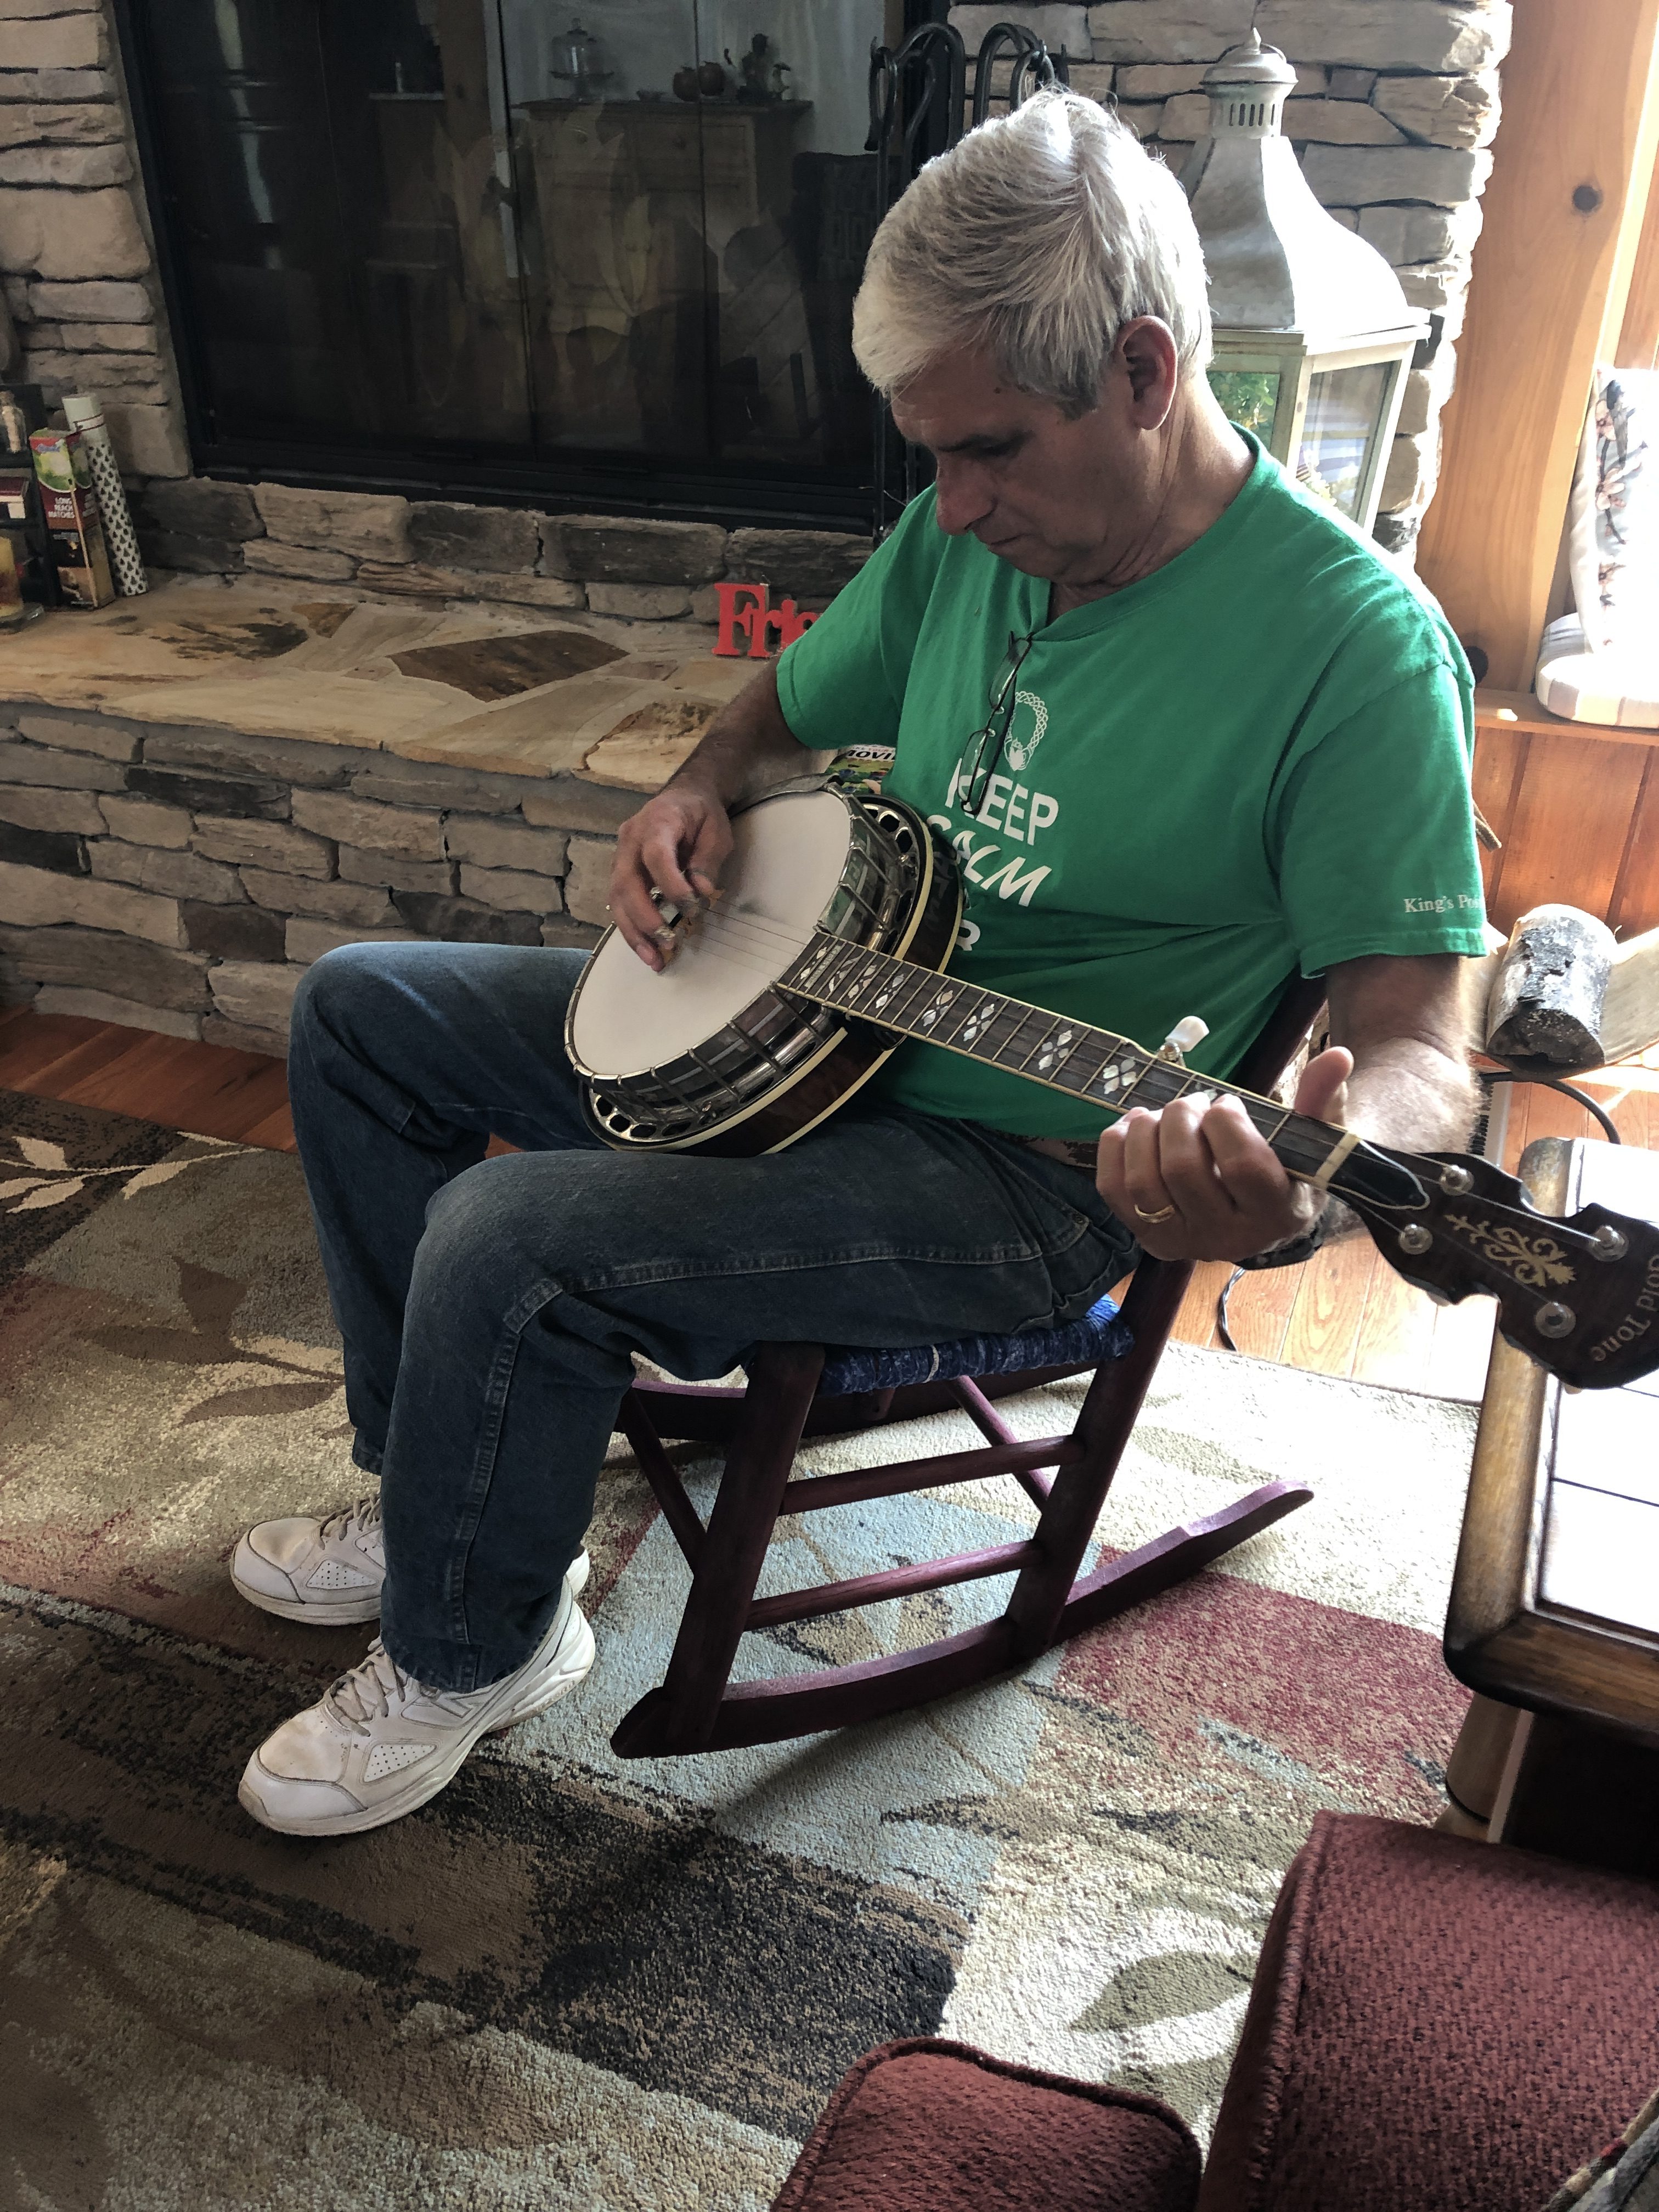
You can see by this series of photos that the afternoon sun was upon us. About that time, Jack drug a chair out next to me, brought his banjo to practices and I tell you it was like a scene out of an old episode of Beverly Hillbillies! I just had to chuckle! What has this pandemic done to our social life? And do I like it? Or not?
 I took a break after working after about 2 hours. I knew I could complete it the next day. I rarely just let a project sit out. We do run a B & B …but with no guests to impress, I just left my project. I walked away without even cleaning up! Pretty therapeutic I suppose!
I picked up the next day and it only took about another hour to complete the chair bottom. On the underside locate the ends of each strand to weave. Pull the loose ends to the underneath and again weaving and knotting. Trim the ends of the double knotted weave to about an inch loose ends.
My mentor on Pinterest, A. McInnis had said to put a spot of glue on each know for double security so I did that last.
Now was time to turn over the chair and test it out!
It’s really strong and not bad looking!
Cost: $0.
Time spent: 3 hours
Satisfaction: 100%

Guess who got to sit in it first? My little banjo buddy! Because by now, it is time for his daily banjo practice session!
I know there will be many good things come out of this quarentine. Sure hope we can remember them a few years from now. Neat chair. You are amazing. The statue was a plus when I had his name added to navy memorial in D.C.